Reference Guide to Animation Looping
This guide will include an open source file you can use to help you learn.
https://workshop.ylands.com/asset/1738 Or Seach on Workshop Composition "Owl Animation"
Step 1 Rigging your animation:
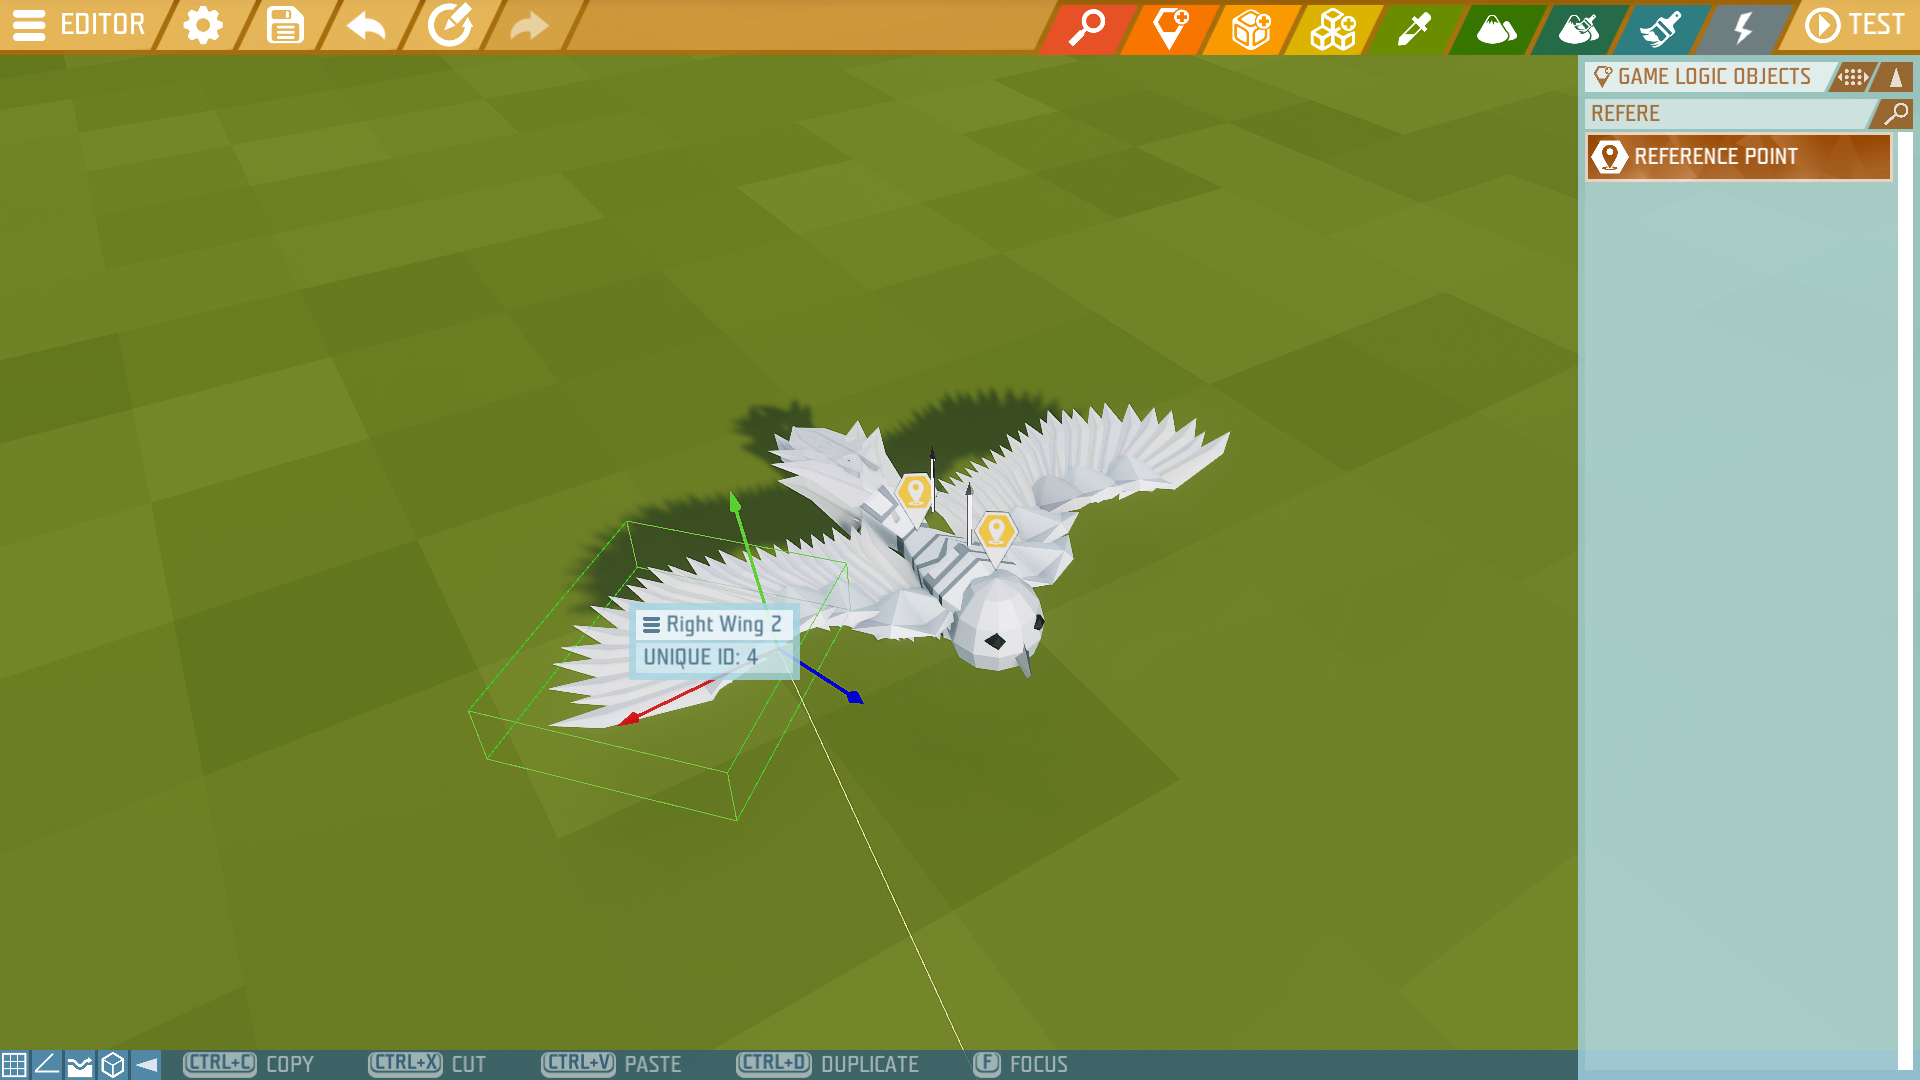
First break down your model into groups for each moving part.
Once you have each part grouped, set the parent of each group to the larger part it's attached to.
As a general rule of thumb, your largest group (usually the torso) should be the parent of your entire model.
When selecting the parent, it will show all of the sub groups attached to it.
It's important to note that the pivot point relative to it's parent is important. Your pivot point should ALWAYS be where you want it to bend.
Tip: You can add a reference point to your group and set it as the pivot point for your group. It is recommended that every group pivot point is set to the reference point.
Step 2 Adding Sub-Parent Animations
Adding Animations to your sub-parent groups should ALWAYS be set with space set to relative (or relative to position depending on the complexity)
With rotation offset, it will vary depending on the rotation of your reference point, but generally it will take trial and error to get the best results possible.
Step 3 Adding Parent Animations
Once your base animations are done, add your parent animations. These should usually be set to Space - Absolute as it's moving independent from the rest of the body.
When you test out your animation (Shortcut F6) the sub parents should move while following the movement of it's parent. You might have re-adjust and repeat steps 2 and 3 a few times to get the right fluidity.
Step 4 Connecting Multiple Animations Together (Extra)
If you managed to make multiple animation loops you can chain them.
Start by first adding all animation logic for 1 type of movement into a logic label.
Then create a global storage which has an instruction to enable/disable all animations inside your game logic label.
This can then be referenced in other scripts to handle an entire animation sequence all in one shot. (In the game file example, it is attached to a lever)
With this system, it is possible to switch between a walking loop animation and a running loop animation!
Good Luck Creators!